
Overview
I wanted to take periodic dumps of RDS on AWS, so I set things up to grab dumps on a schedule using ECS’s cron-like feature.
I also automated the management of the container image and task that ECS runs on a schedule.
This post targets postgres; for mysql and the like, adjust the Dockerfile as needed.
Prerequisites
- An AWS account
- An RDS instance already set up
- A bitbucket account
Preparation
Creating an IAM user
Here we’ll create a user for deploying from bitbucket pipeline and for uploading the dump data to S3.
Normally you’d want separate users for deployment and S3, but to keep management overhead down I’m creating just one.
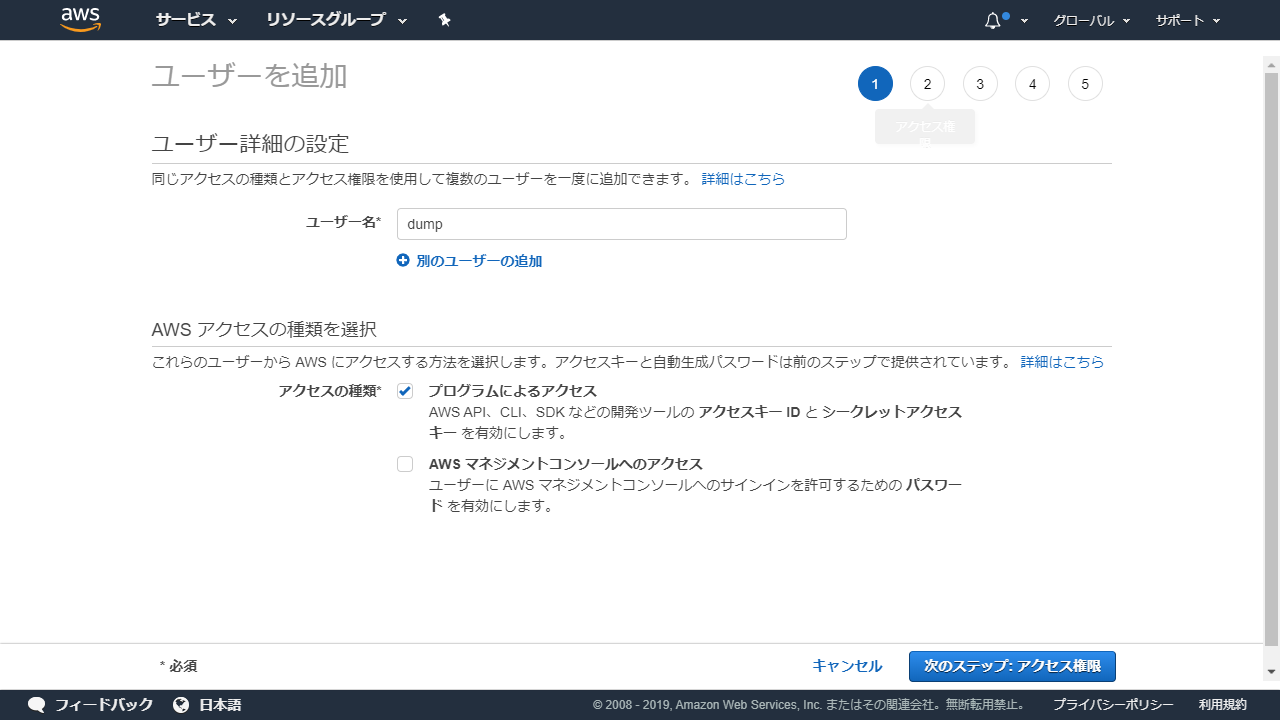
Open IAM, go to Users in the left menu, then open Add user, and you’ll get a screen like the one below.
Enter a user name as you like, and limit the access type to programmatic access.
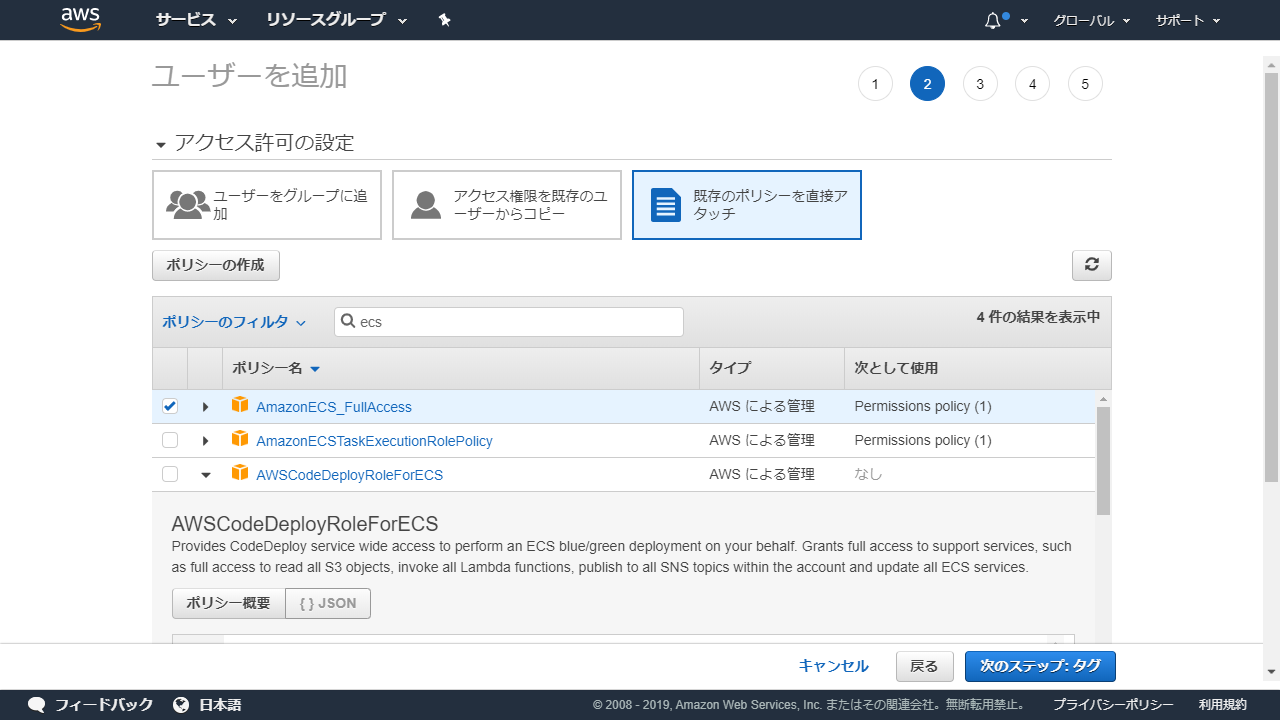
Select AmazonECS_FullAccess, AmazonEC2ContainerRegistryFullAccess, and AmazonS3FullAccess (I wanted to use the same user from the CLI, so the permissions are broad. If you know what you’re doing, narrow them down as appropriate.)
There’s nothing else in particular to configure after that, so proceed through to creating the user.
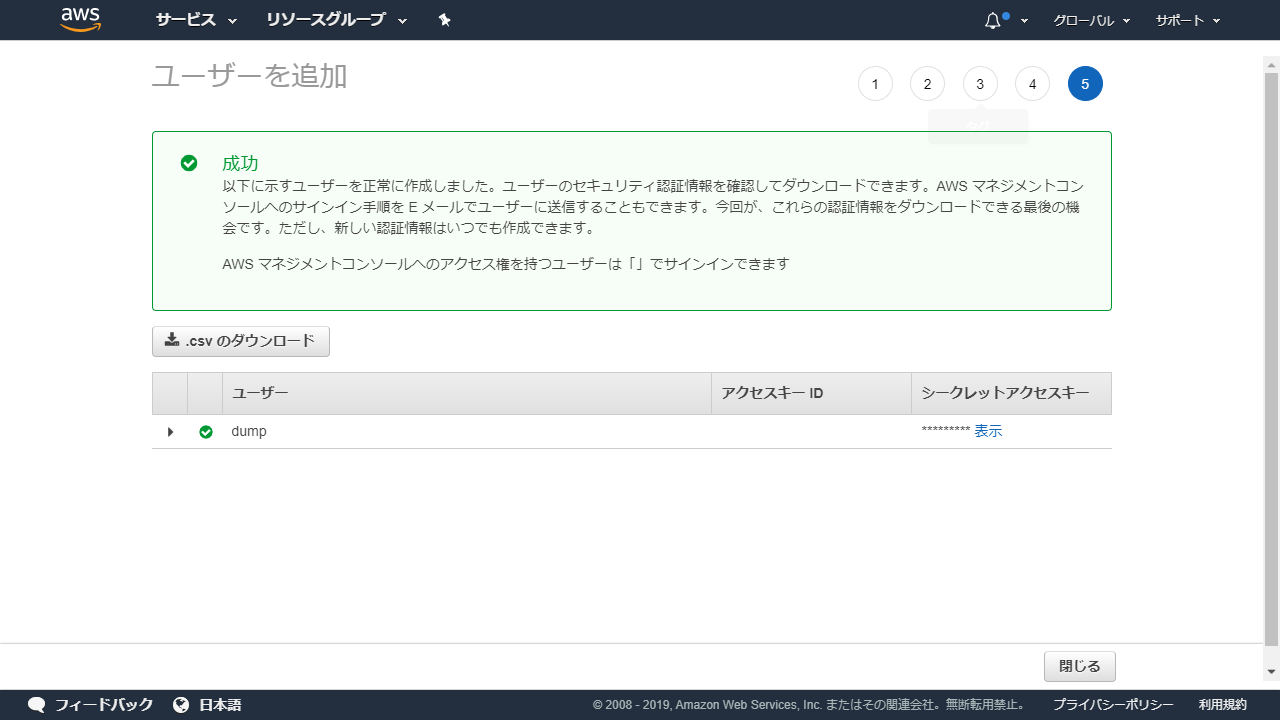
At the end you’ll see a screen like this; make a note of the access key ID and secret access key. You can issue additional secret access keys, but this one can never be displayed again, so be absolutely sure to write it down.
Creating an IAM role
This is the role used to run tasks. It normally gets created automatically, but if you’ve never used ECS at all it won’t exist yet, so create it manually.
(If you already have a role ending in ecsTaskExecutionRole, make a note of its ARN.)
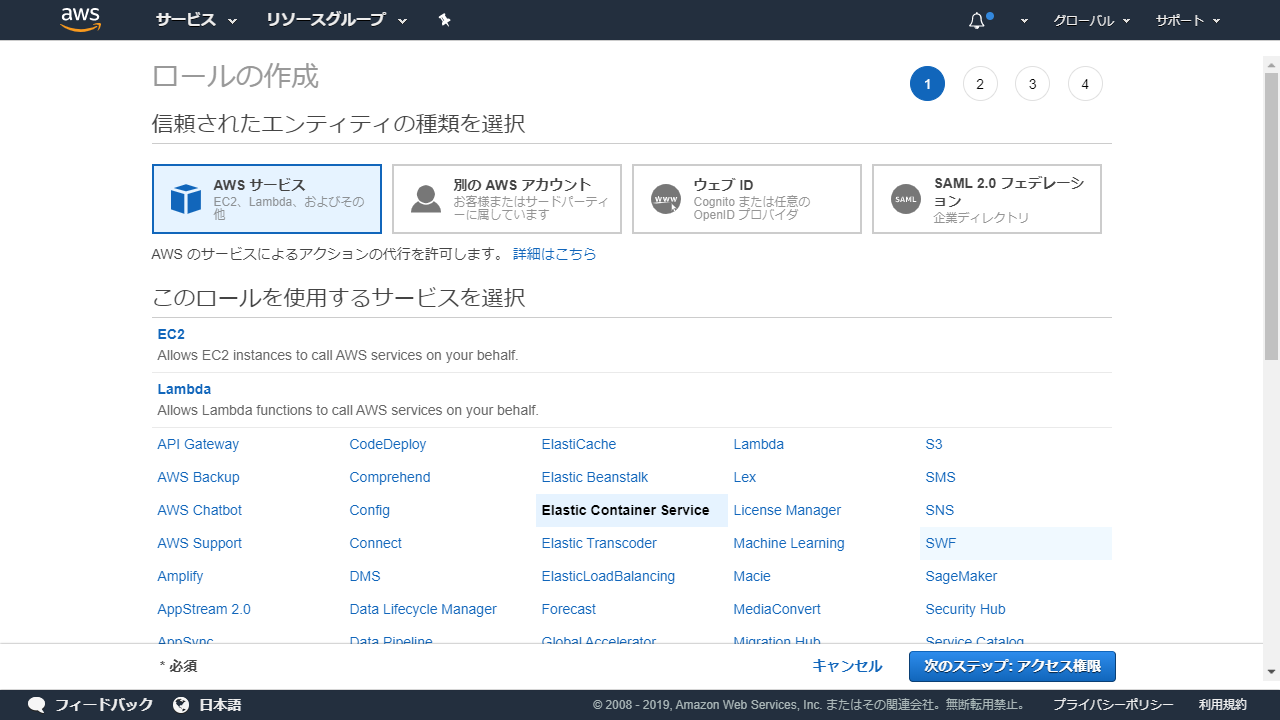
Open IAM, go to Roles in the left menu, then open Create role, and you’ll get a screen like the one below.
Select Elastic Container Service, then select Elastic Container Service Task, and click Next.
Select AmazonECSTaskExecutionRolePolicy; there’s nothing else in particular to configure after that, so proceed through to creating the role.
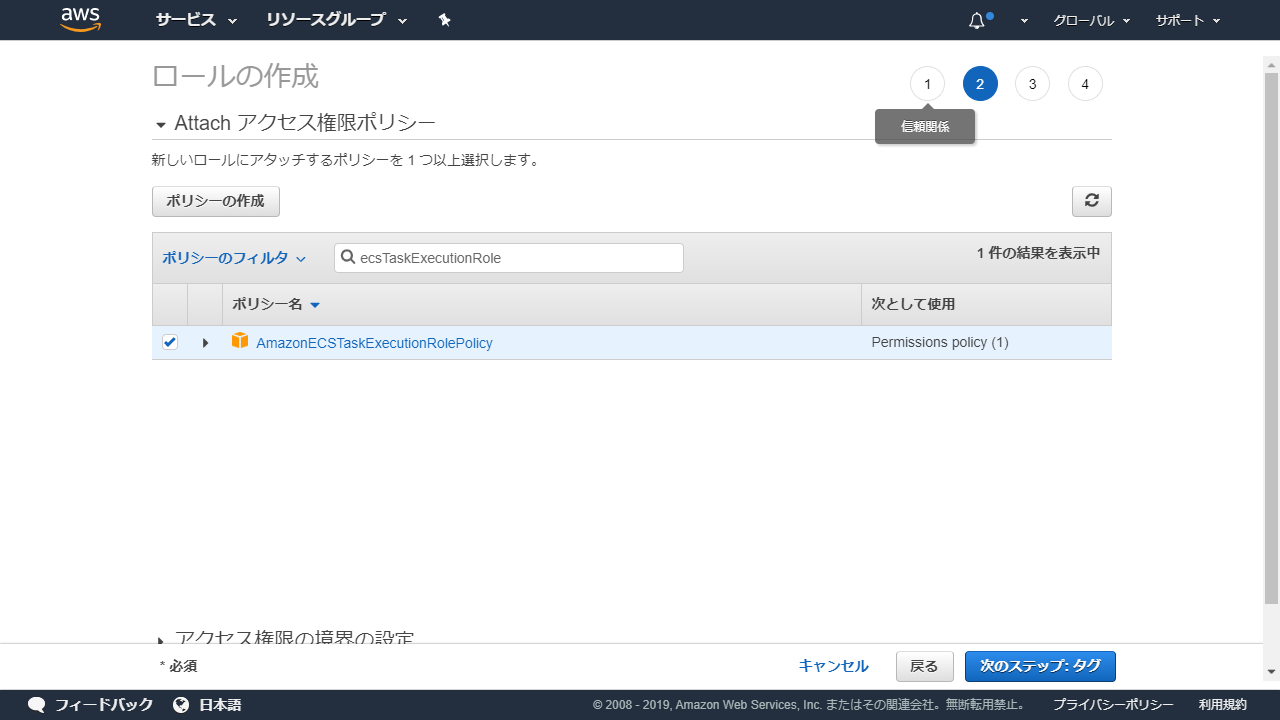
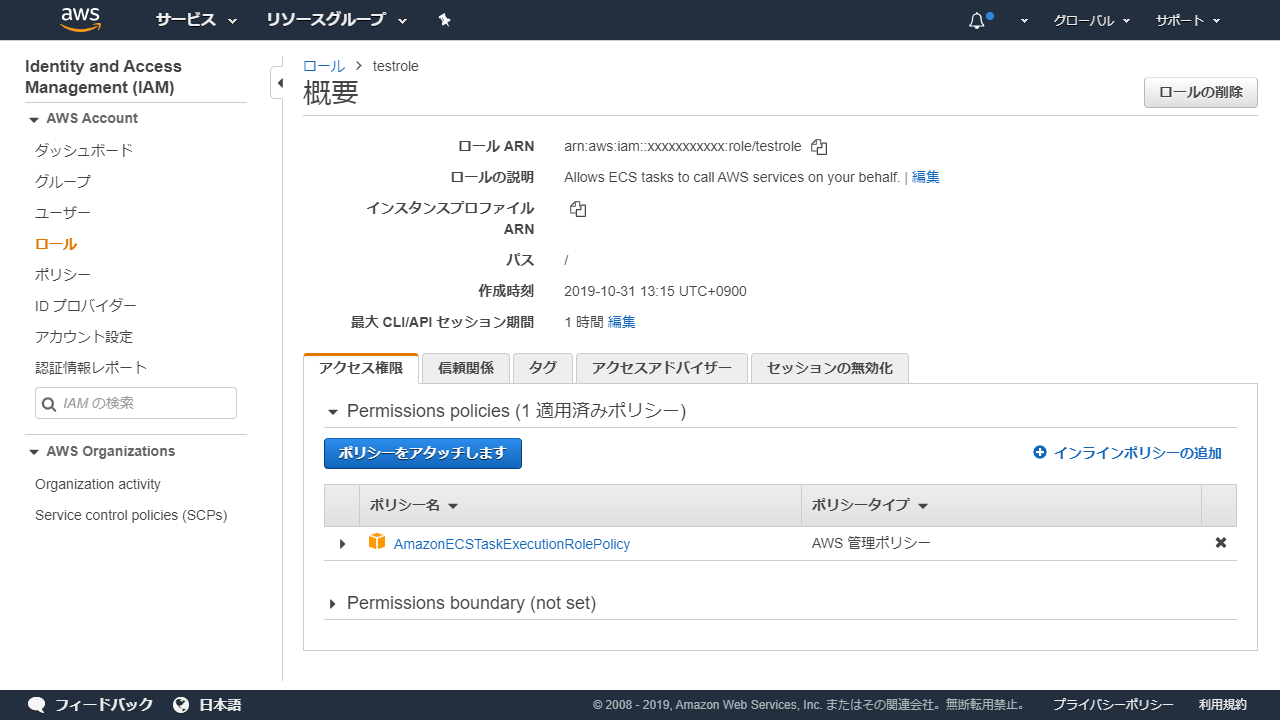
Once it’s created you’ll be taken back to the original screen, so open the role you just created and make a note of the ロール ARN (“Role ARN”) shown on the screen below.
Creating a bucket
There’s nothing special to configure. Create it with whatever settings suit you.
Make a note of the name you give it.
Creating an ECR repository
Again there’s nothing special to configure, but since the pipeline overwrites tags, make sure tag immutability is disabled (it’s disabled by default).
After creating it, make a note of the URL-like value in the URI column.
Creating a repository on bitbucket
Create a repository as you normally would.
Locally, create the following files.
~/ ├ .pgpass ├ bitbucket-pipelines.yml ├ Dockerfile └ docker-entrypoint.sh.pgpass is a password file that lets you access postgres without typing a password. Write it as follows.
hostname:port:database:username:passwordbitbucket-pipelines.yml is the file that defines the bitbucket pipeline. Write it as follows.
Fill in the ロール ARN (Role ARN) you noted earlier for execution-role-arn.
# enable Docker for your repositoryoptions: docker: true
pipelines: default: - step: name: build-push image: atlassian/pipelines-awscli:latest deployment: test caches: - docker script: # aws login - aws ecr get-login-password --region ${AWS_DEFAULT_REGION} | docker login --username AWS --password-stdin ${AWS_REGISTRY_URL%%/*} # docker - export BUILD_ID=$BITBUCKET_BRANCH_$BITBUCKET_COMMIT_$BITBUCKET_BUILD_NUMBER - docker build -t ${AWS_REGISTRY_URL}:$BUILD_ID -t ${AWS_REGISTRY_URL}:development . - docker push ${AWS_REGISTRY_URL}
- step: name: deploy image: atlassian/pipelines-awscli:latest deployment: production script:9 collapsed lines
- export BUILD_ID=$BITBUCKET_BRANCH_$BITBUCKET_COMMIT_$BITBUCKET_BUILD_NUMBER - export IMAGE_NAME="${AWS_REGISTRY_URL}:$BUILD_ID" # ECS variables - export ECS_CLUSTER_NAME="${BITBUCKET_REPO_OWNER}" - export ECS_SERVICE_NAME="${BITBUCKET_REPO_SLUG}" - export ECS_TASK_NAME="${BITBUCKET_REPO_SLUG}" # Create ECS cluster, task, service - aws ecs list-clusters | grep "${ECS_CLUSTER_NAME}" || aws ecs create-cluster --cluster-name "${ECS_CLUSTER_NAME}" # Updating the existing cluster, task, service - export TASK_VERSION=$(aws ecs register-task-definition --family "${ECS_TASK_NAME}" --execution-role-arn ""7 collapsed lines
--network-mode "awsvpc" --requires-compatibilities "FARGATE" --cpu "256" --memory "512" --container-definitions "[{\"name\":\"${ECS_TASK_NAME}\",\"image\":\"${IMAGE_NAME}\",\"logConfiguration\":{\"logDriver\":\"awslogs\",\"options\":{\"awslogs-group\":\"/ecs\",\"awslogs-region\":\"${AWS_DEFAULT_REGION}\",\"awslogs-stream-prefix\":\"${ECS_TASK_NAME}\"}}}]" | jq --raw-output '.taskDefinition.revision') - echo "Registered ECS Task Definition:" "${TASK_VERSION}"NOTEUpdate (October 2026):
aws ecr get-login, which I’d been using to log in, was removed in AWS CLI v2, so I rewrote it to pipeaws ecr get-login-passwordintodocker login(this also works on v1 from 1.17.10 onward). Changes in AWS CLI v2
Also, theatlassian/pipelines-awscliimage has been deprecated, and you’re directed to migrate to amazon/aws-cli. Docker Hub
The Dockerfile is the container definition that gets deployed to ECS. Write it as follows.
Fill in the placeholders with the values you noted earlier ({アクセスキーID} is the access key ID and {シークレットアクセスキー} is the secret access key).
FROM alpine
RUN apk --no-cache add postgresql-client aws-cliENV AWS_DEFAULT_REGION ap-northeast-1ENV AWS_ACCESS_KEY_ID {アクセスキーID}ENV AWS_SECRET_ACCESS_KEY {シークレットアクセスキー}RUN mkdir dumpWORKDIR /root/dumpADD .pgpass /root/.pgpassRUN chmod 0600 /root/.pgpassADD docker-entrypoint.sh /root/docker-entrypoint.shRUN chmod +x /root/docker-entrypoint.sh
CMD ["/root/docker-entrypoint.sh"]NOTEUpdate (October 2026): On recent Alpine you can’t install packages into the system Python with
pip3 install(it stops with externally-managed-environment), so I changed it to install the AWS CLI from Alpine’s package (aws-cli).
docker-entrypoint.sh is the set of commands run when the container starts; in other words, it’s the body of the cron job.
Fill in the placeholders with the values you noted earlier ({DB名} is the DB name, {DBのホスト} the DB host, {ユーザー} the user, and {S3のバケット} the S3 bucket).
As for the storage layout, the first prefix is the deletion cycle, then the DB name, and finally the file name prefix, which here holds the dump cycle.
#!/bin/sh
mkdir -p yearly/{DB名}pg_dump -Fc -h {DBのホスト} -U {ユーザー} {DB名} > yearly/{DB名}/weekly-`date "+%Y%m%d_%H%M%S"`.customaws s3 sync . s3://{S3のバケット}Once everything is ready, push to the repository you created earlier as usual.
Setting up the pipeline on bitbucket
Open the repository you just pushed on bitbucket.
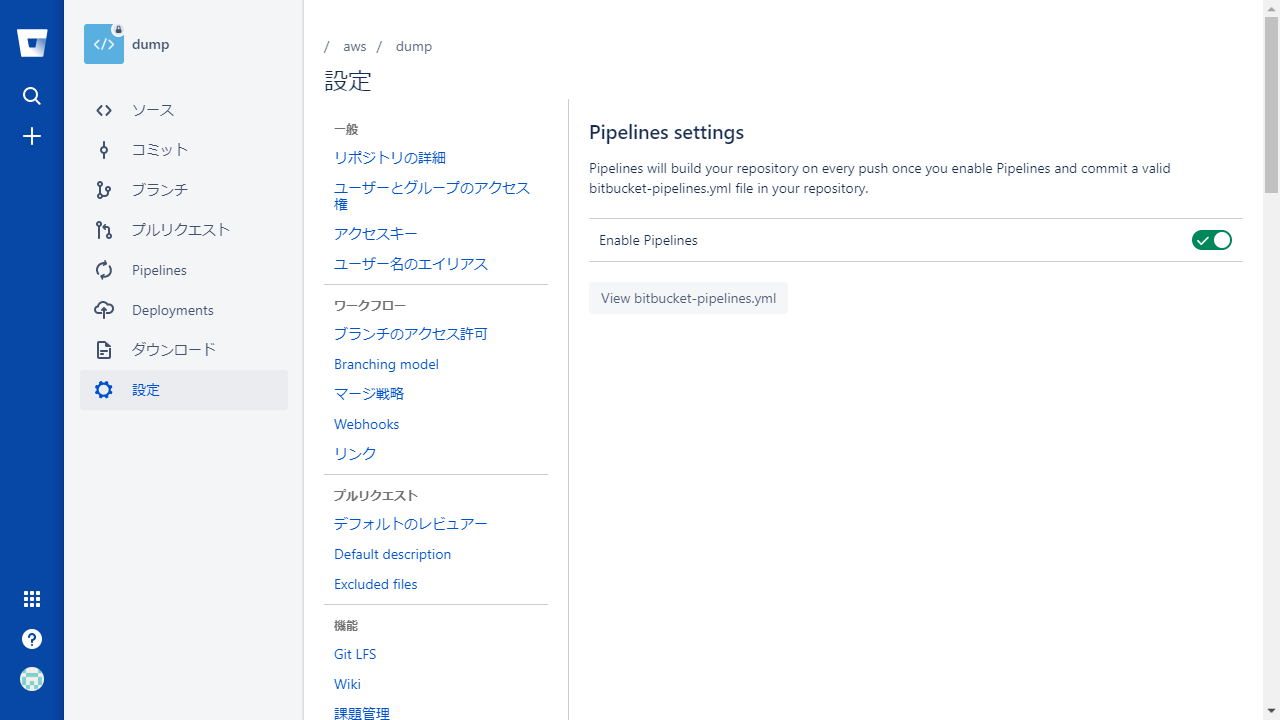
Go to Settings -> PIPELINES -> Settings and turn on Enable Pipelines.
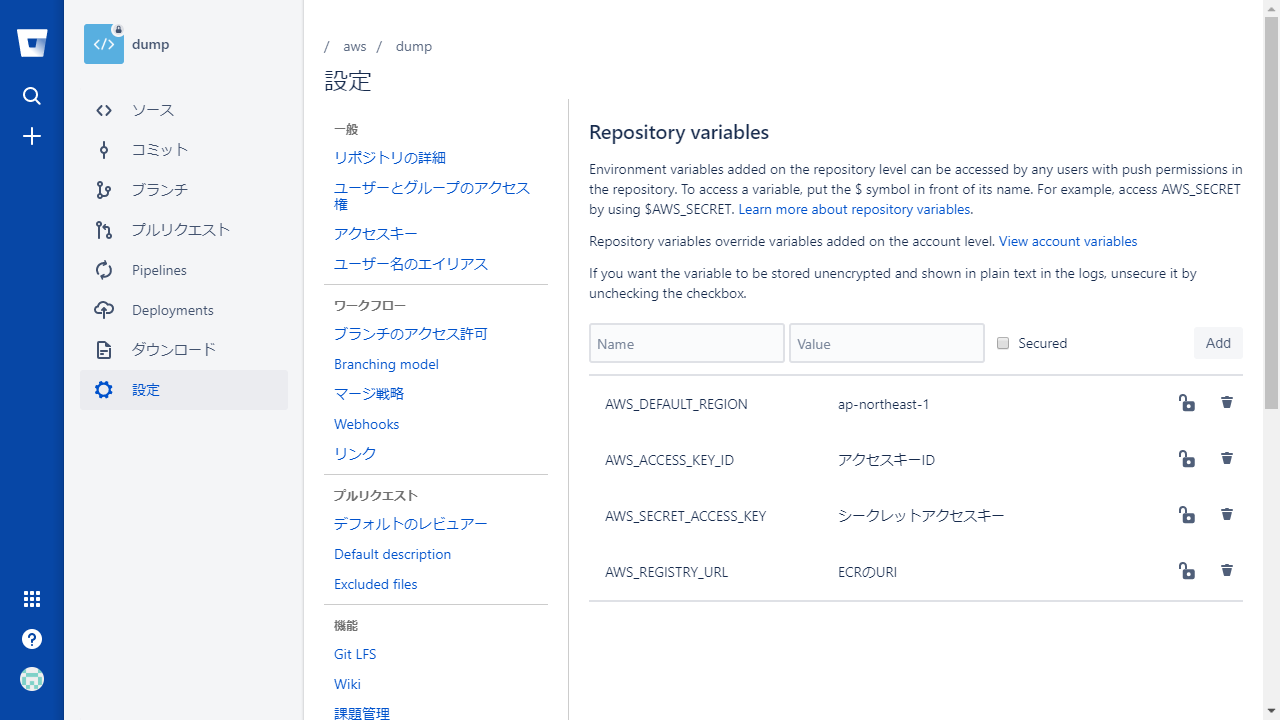
Next, open Repository variables.
Set them as shown below using the values you noted earlier.
Deploying and setting up cron
Running the deployment
Still on the bitbucket screen, open Pipelines from the menu again, then click Run pipeline, select the options as shown below, and click Run.
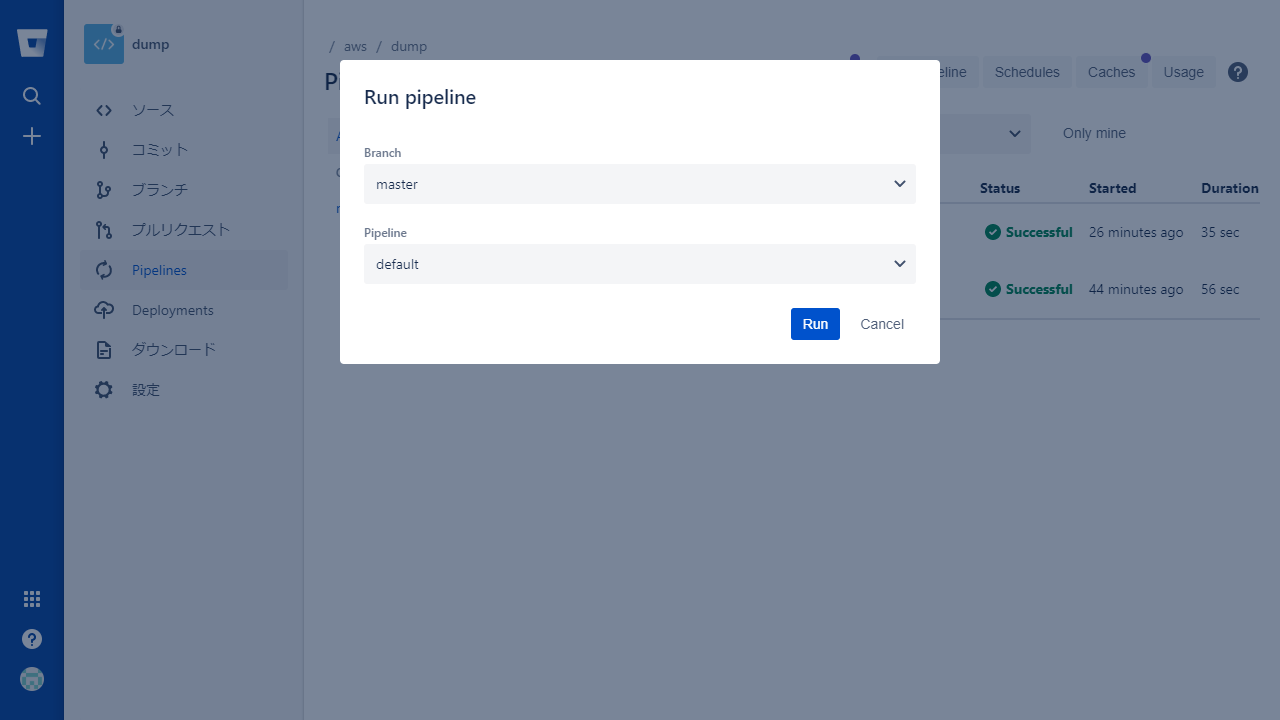
When that’s done you’ll see something like the screen below; wait for the pipeline to finish.
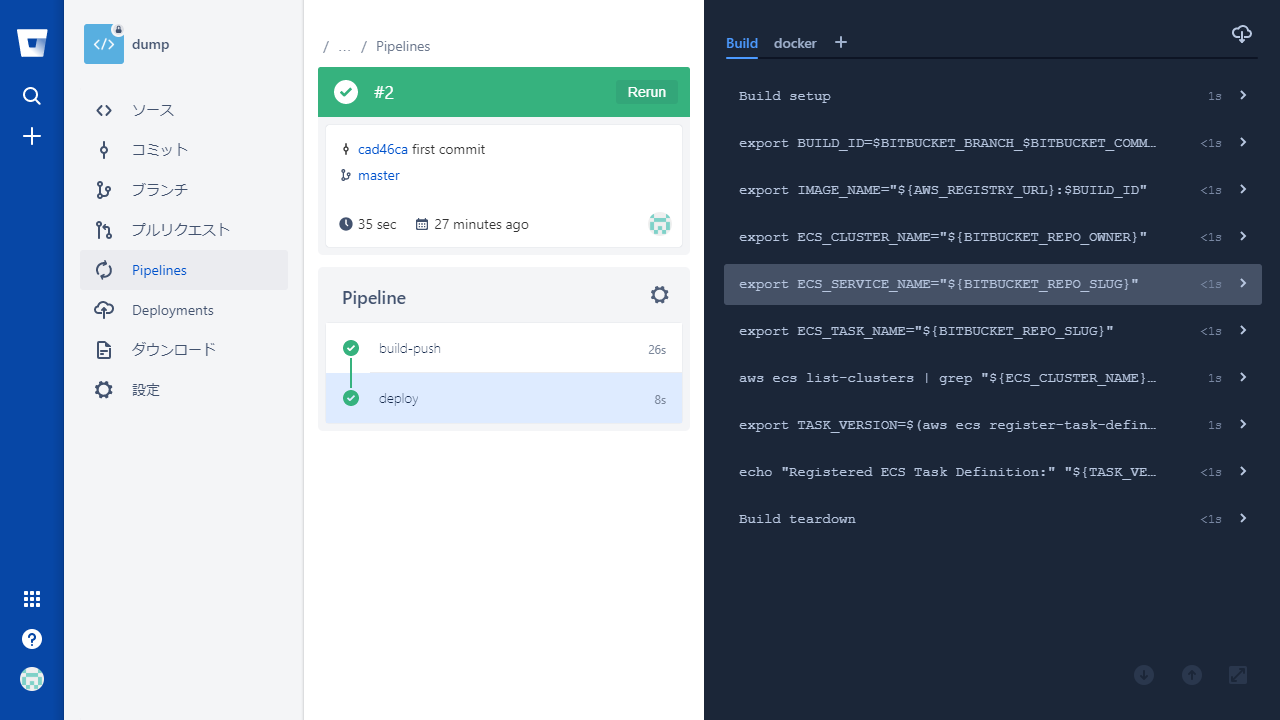
From then on it runs automatically every time the branch changes.
Creating a schedule on AWS
On AWS ECS, a cluster has been created with the repository owner’s name, so open that cluster (click where the cluster name is shown to open it).
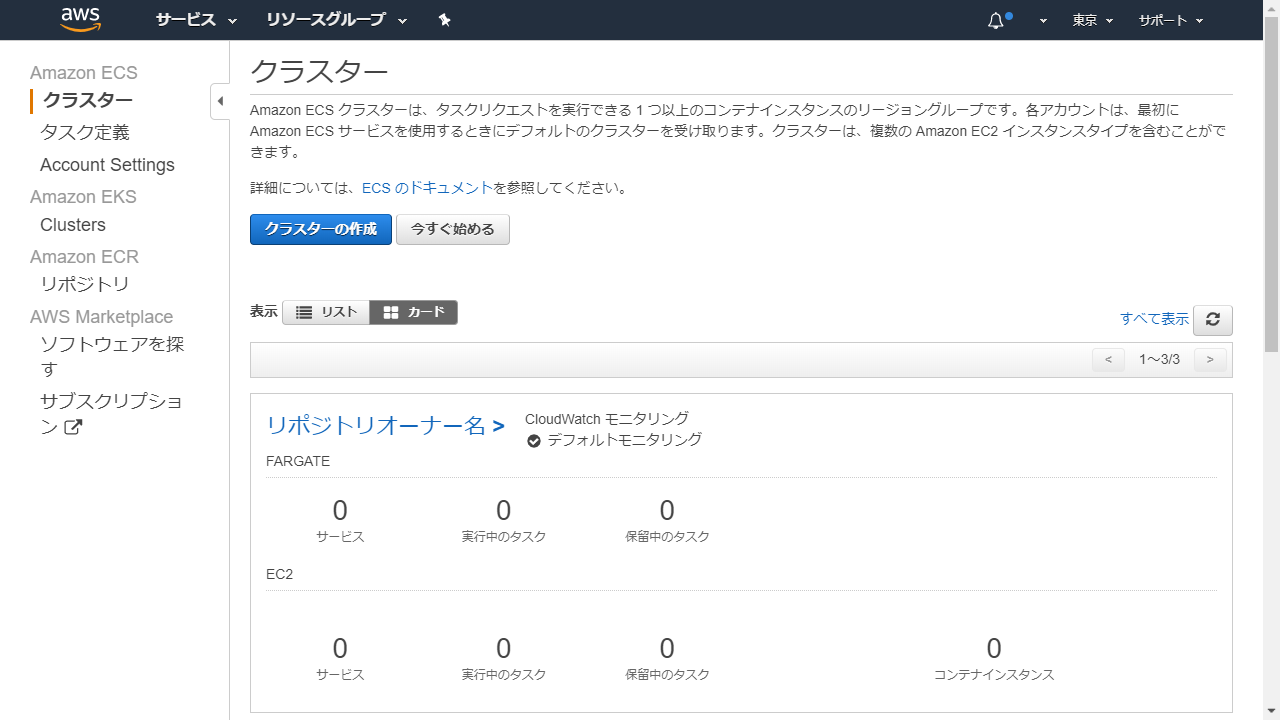
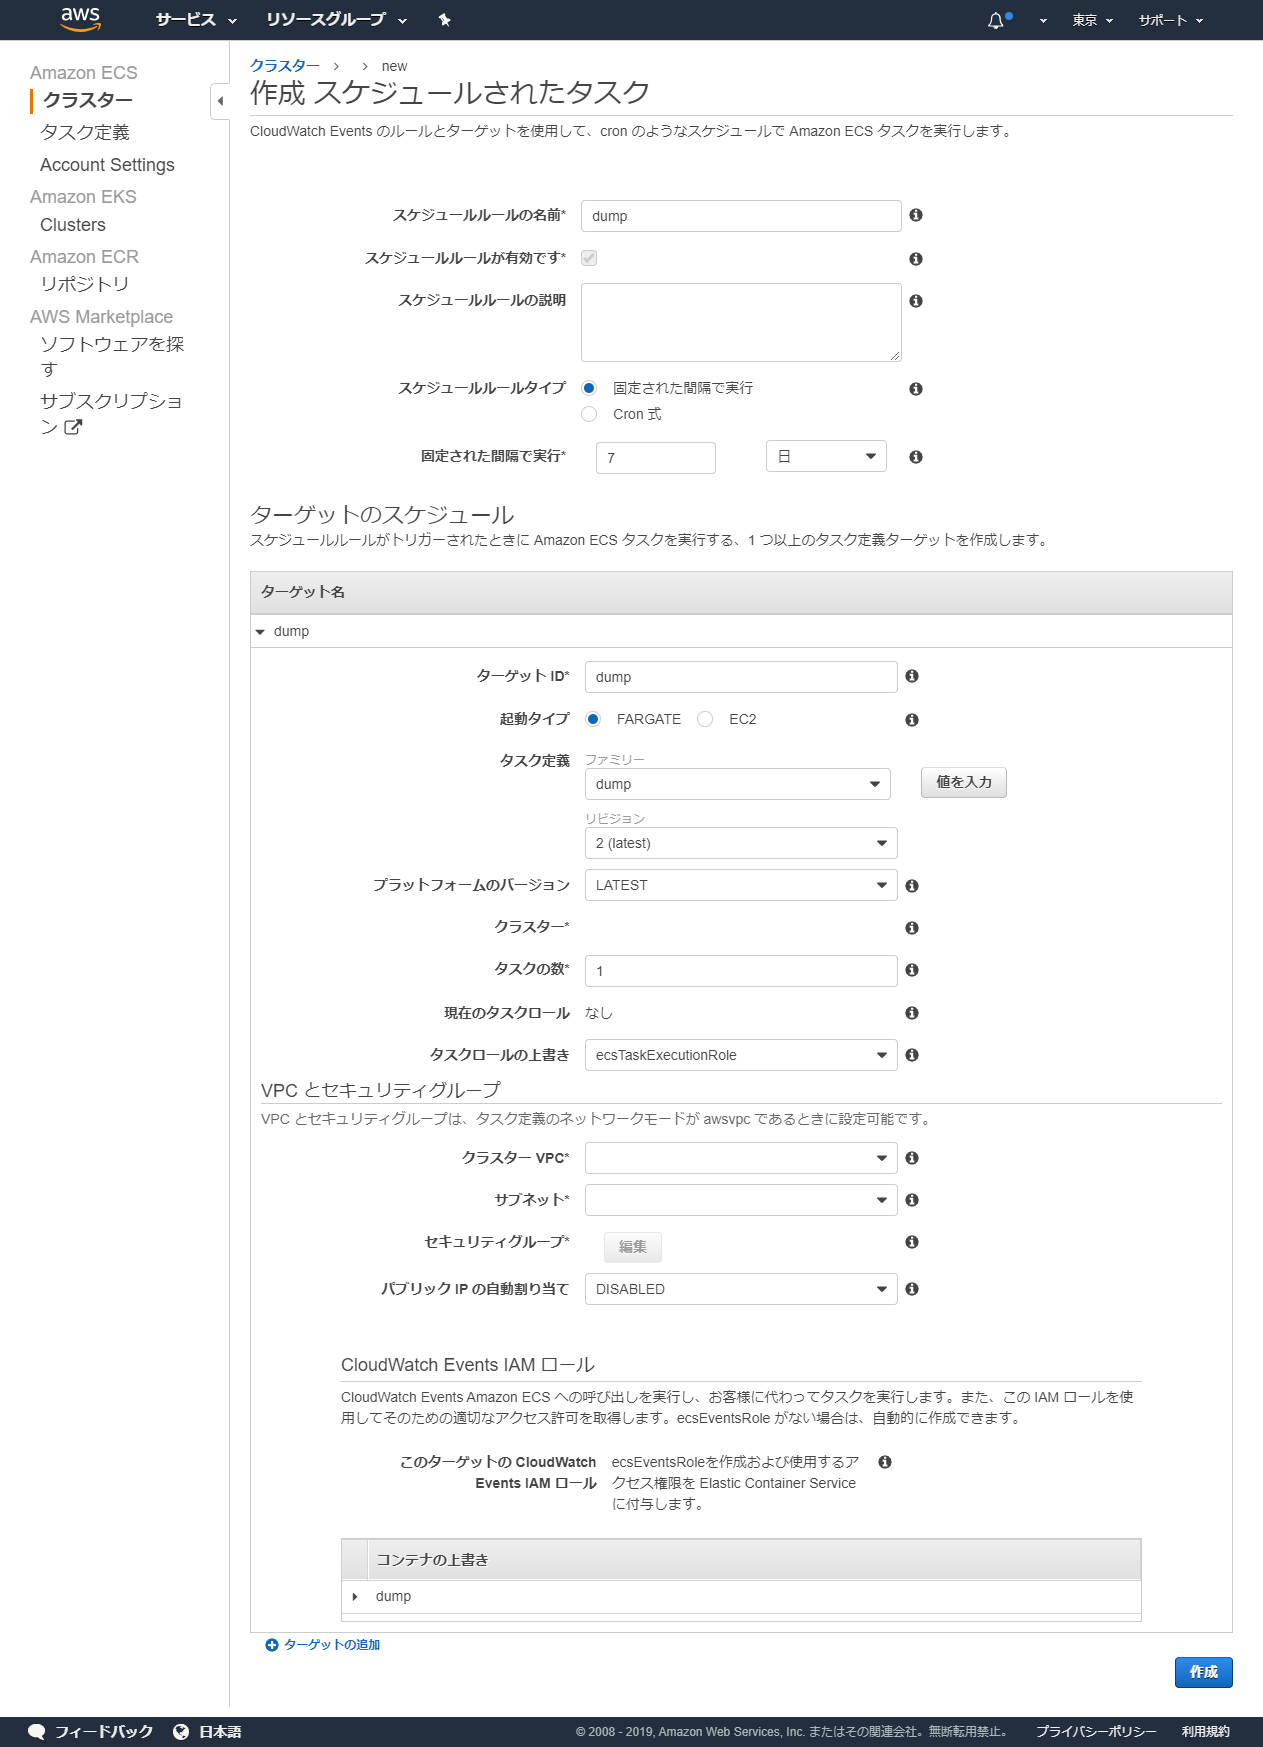
Open the Scheduled Tasks tab and click Create.
NOTEUpdate (October 2026): The screens are different in the current ECS console. For scheduled runs, the recommended approach now is to create a schedule in Amazon EventBridge Scheduler and choose ECS
RunTaskas the target. The cron expression is EventBridge Scheduler’s as well. Using Amazon EventBridge Scheduler to schedule Amazon ECS tasks
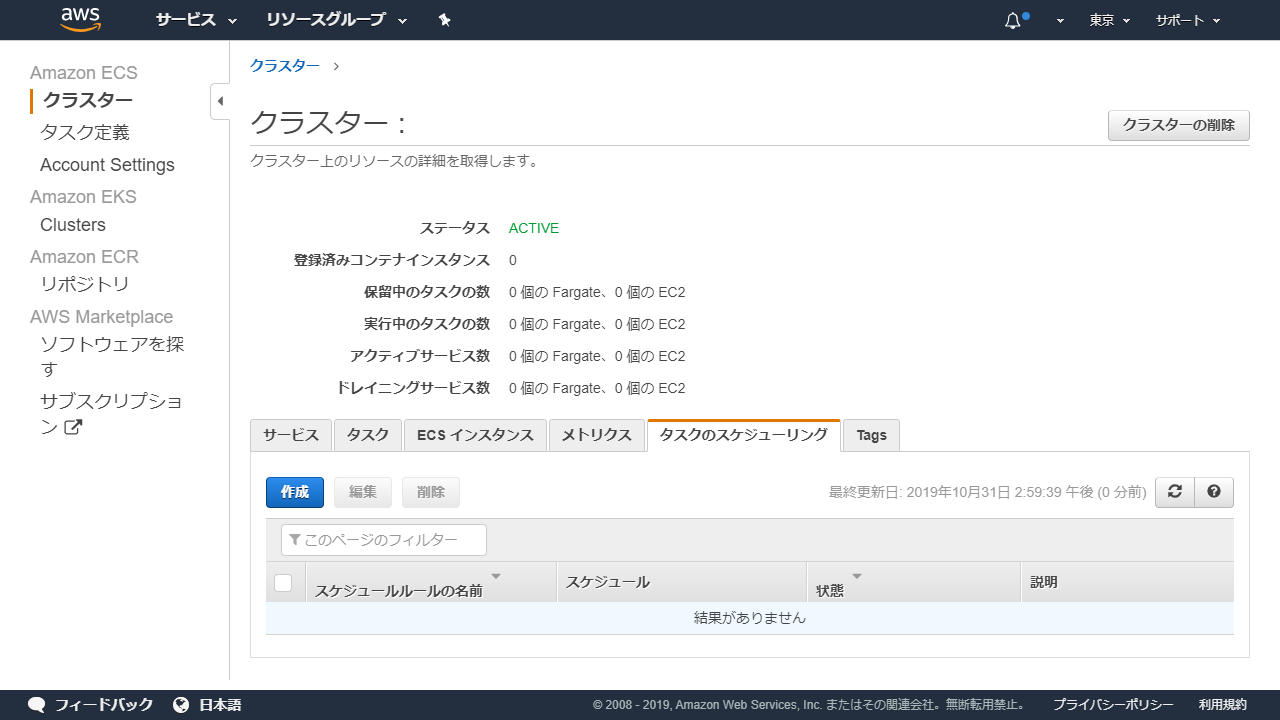
Set the run interval and so on. For the target, since we created the task for FARGATE this time, choose FARGATE as the launch type; for the task definition family there’s a task with the same name as the repository, so select that. Configure the VPC and security group as appropriate.
NOTEI got stuck when choosing a cron expression; it seems to differ from the cron expressions of busybox cron and the like. I used the following as a reference.
Wildcards in AWS cron expressions (Japanese)